How to Handle Snowboard Jumps Like a Pro
17 October 2025
If you've ever watched pro snowboarders throw down gnarly tricks on massive jumps and thought, “Wow, I wish I could do that,” you're not alone. Snowboard jumps are one of the most exhilarating (and, let's be honest, intimidating) parts of riding. But here's the thing—it’s not magic. It’s practice, technique, and a bit of grit. Whether you're just starting to get air or looking to fine-tune your style, this guide’s going to give you the lowdown on how to handle snowboard jumps like a seasoned rider.
Let’s break it down and make those jumps less scary and a whole lot more fun.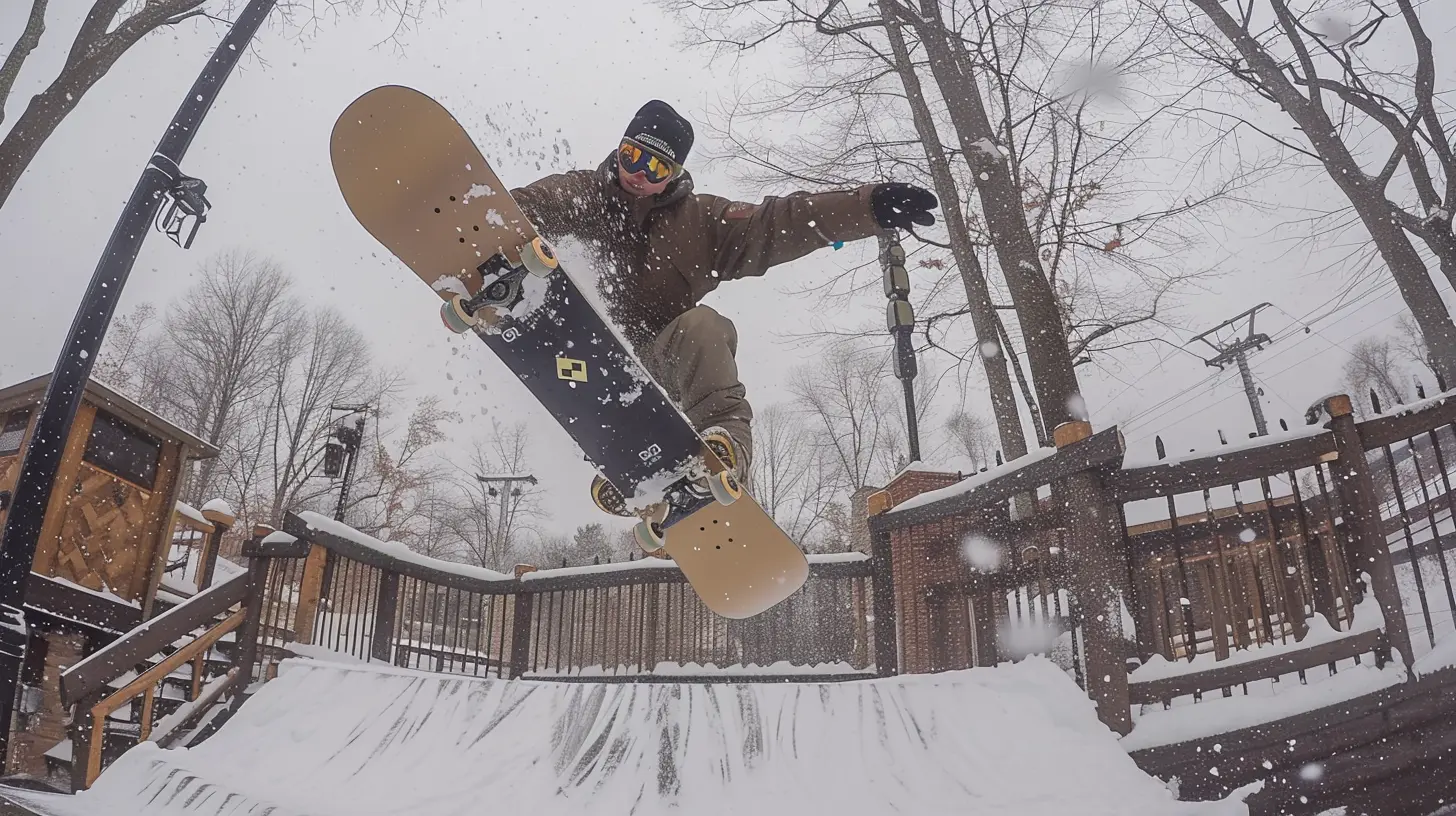
Table of Contents
- Understanding Snowboard Jumps- Gear Check: Set Yourself Up for Success
- Breaking Down the Jump
- 1. The Approach
- 2. The Takeoff
- 3. The Airtime
- 4. The Landing
- Common Mistakes and How to Fix Them
- Intermediate to Advanced Tricks: Stepping Up Your Game
- Mental Game: Beat the Fear of Flying
- Safety First: Protect Your Body
- Final Thoughts: Progress Over Perfection
Understanding Snowboard Jumps
Before we talk about sending it off a kicker, let’s get on the same page. In snowboarding, a “jump” is a feature where you launch yourself into the air, usually off a manmade or natural ramp. Terrain parks are full of these goodies—kick jumps, tabletops, step-ups, step-downs, hips—you name it.Each jump has different characteristics, but the fundamentals are universal. It’s kind of like learning to ride a bike. Once you understand the mechanics, you can tackle any obstacle.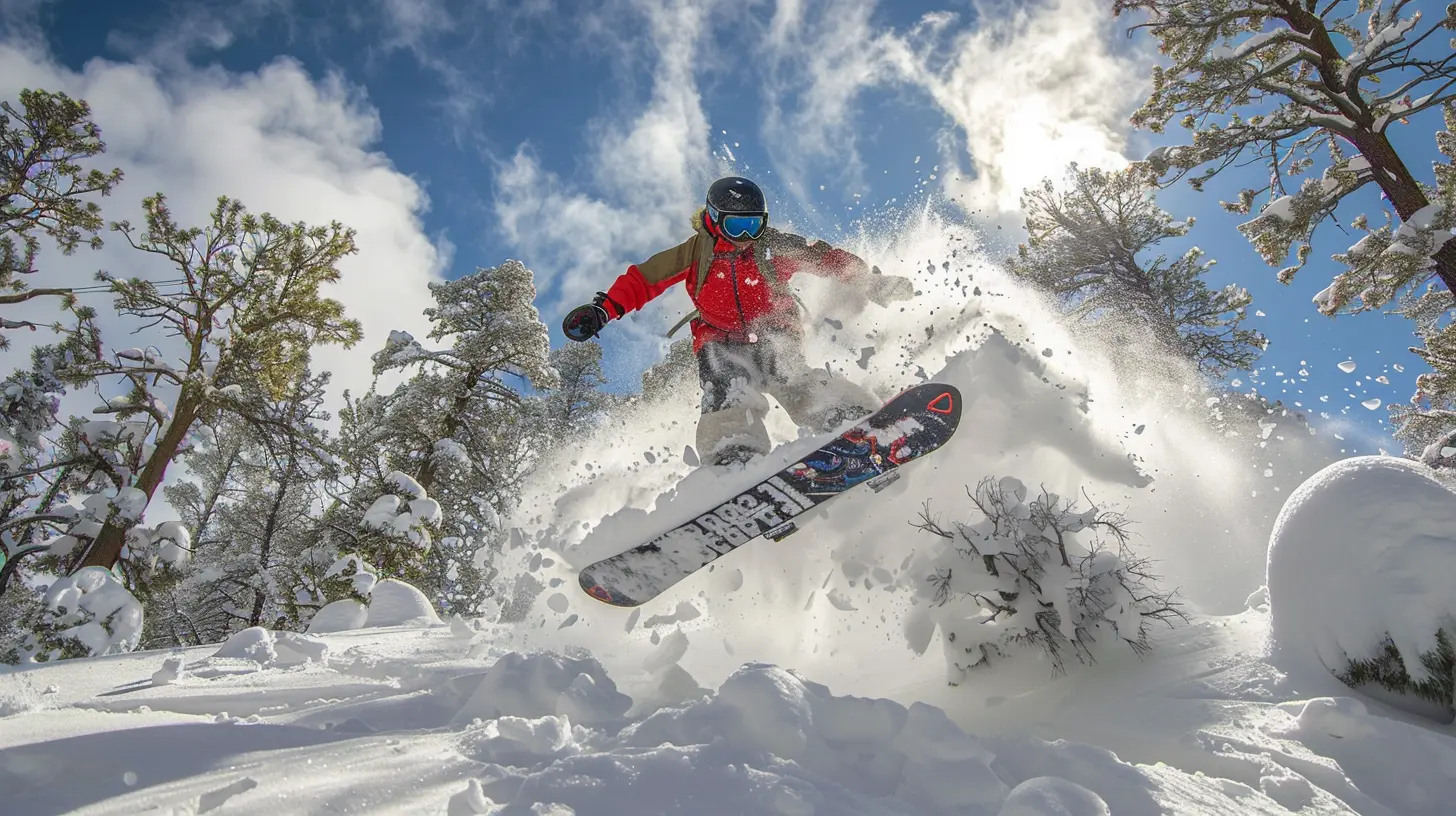
Gear Check: Set Yourself Up for Success
Your gear plays a crucial role in how well you handle jumps. You wouldn’t wear flip-flops to run a marathon, right? Same logic here.- Board Flex: For freestyle riding and jumps, go for a medium to soft-flex board. Too stiff = less control during takeoff and landing.
- Bindings: Make sure your bindings are responsive but offer a bit of give. You want to feel connected without being locked in.
- Boots: Get boots that support your ankles and landings. Cushioning is key.
- Helmet and Pads: This isn’t optional. Helmets and impact shorts could save you from a season-ending injury.
Before hitting the jump line, make sure your setup matches your riding style and comfort level. Dial it in, and you’ll feel 10x more confident.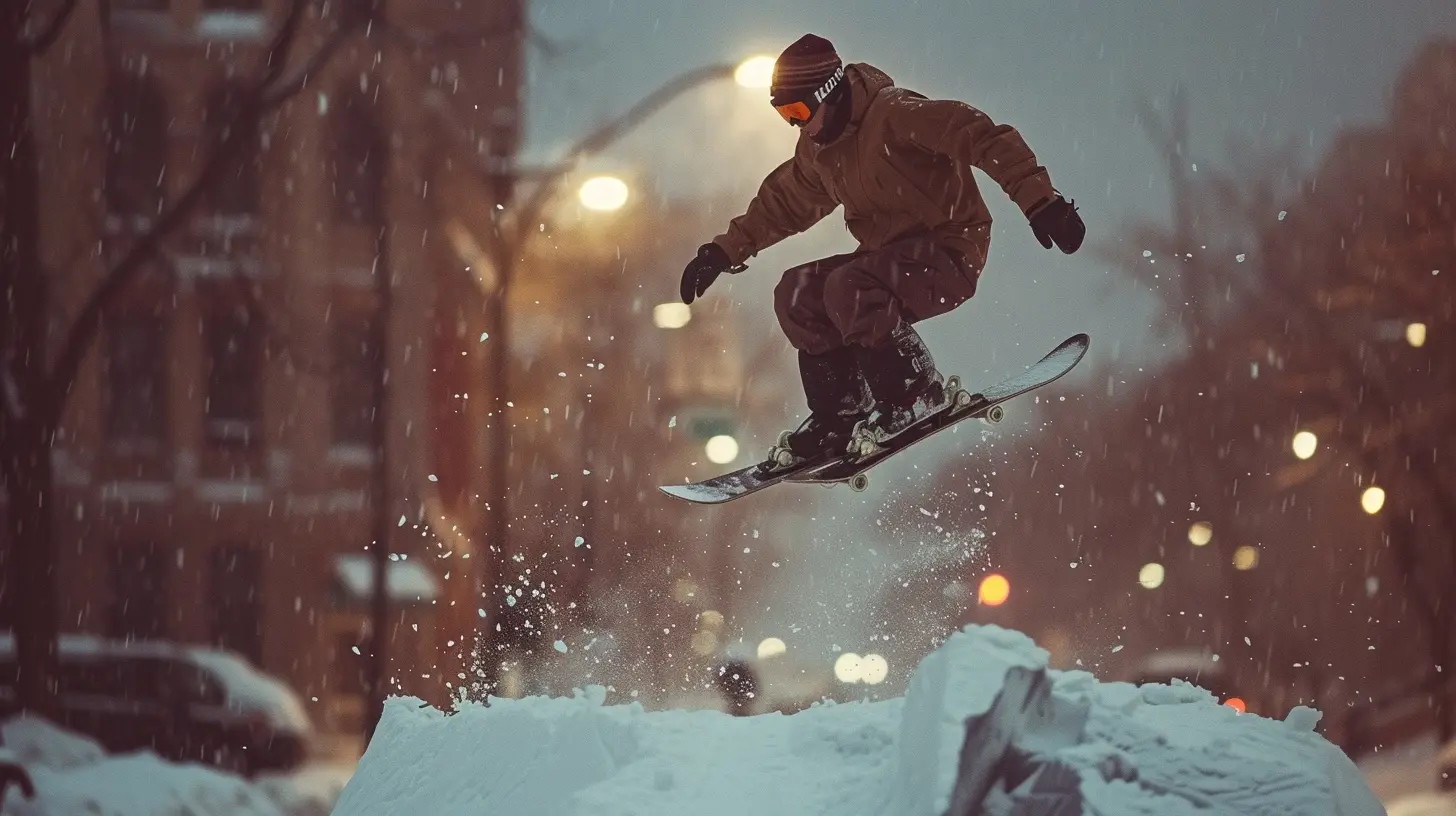
Breaking Down the Jump
Snowboard jumps are a game of four parts. Think of it like a movie—you’ve got the setup, the launch, the flying scene, and the dramatic landing. Let’s break that down:1. The Approach
This is where it all starts, quite literally. If you mess up the approach, the rest of the jump is toast.- Line it up: Spot your jump early and plan your line. Visualize each move before you even start riding toward it.
- Stay centered: Keep your knees bent and your weight over the board. Avoid leaning back; that’s a recipe for undershooting, or worse, catching your tail on the lip.
- Speed check: Too slow? You’ll case the knuckle. Too fast? You might overshoot the landing. Dial in your speed by watching others, or doing a slower speed check run.
Pro tip: If you’re unsure about the approach, hang back for a bit and watch other riders hit it. Get a feel for what works.
2. The Takeoff
This is where you pop off the lip and launch into the air. Your body position and timing matter big time here.- Pop, don’t just roll off: Use your legs to gently spring off the lip. This is called “popping.” It gives you control and height.
- Keep your head up: Look where you’re going, not down at your board. Your body follows your head.
- Stay compact: Pull your knees up slightly and keep your arms close. Like a coiled spring.
Think of the takeoff like jumping on a trampoline—you want a nice, balanced lift-off, not a flailing mess.
3. The Airtime
Congratulations, you’re flying! Now, what?- Stay calm and relaxed: Tension is your enemy in the air. It makes you stiff and awkward.
- Style it out: Once you’re comfy, start adding grabs. Start with simple ones like an indy or mute.
- Spot your landing: As you begin your descent, look at the landing zone. This helps you align and prepare for a smooth touchdown.
Imagine yourself as a drone—smooth, stable, and flowing through the air. No wobbling, no panic.
4. The Landing
This part separates the rookies from the rockstars.- Absorb the impact: Don’t land stiff. Let your legs act like shock absorbers. Bend those knees!
- Land flat base or slightly on your edge: Too much edge = catching and falling. Too flat and you might bounce.
- Ride away clean: Keep your weight centered and ride out like nothing happened (bonus points if you throw in a little style).
Landing doesn't have to look like a superhero punch to the ground. Think of it more like a cat—light, smooth, and stylish.
Common Mistakes and How to Fix Them
Messing up is part of learning, but knowing what you’re doing wrong can fast-track your progress. Here’s what not to do:| Mistake | Why It Happens | Fix |
|--------|----------------|-----|
| Leaning back on takeoff | Fear, poor stance | Stay centered, trust your board |
| Not enough speed | Hesitation or poor wax | Watch others, wax your board, commit |
| Flailing arms in air | Lack of control or panic | Keep arms close, focus on breath |
| Stiff landings | Fear or inexperience | Bend knees, practice small drops |
| Looking down | Instinct or nerves | Keep head up, look ahead |
Everyone messes up. The trick is not to let it rattle you. Laugh it off and try again.
Intermediate to Advanced Tricks: Stepping Up Your Game
Once you’re solid on straight airs and smooth landings, it’s time to spice things up. Here are a few tricks to add to your arsenal:- Grabs: Start with indy (rear hand on toe edge between bindings) or mute (front hand on toe edge). Grabs add style and control.
- 180s: Start with frontside 180s. Use your shoulders and eyes to rotate—your board will follow.
- Shiftys: Twist your hips mid-air and bring them back before landing. They're stylish and pretty low-risk.
- Backside spins: Once you’re comfy with 180s, work up to 360s. Just make sure you’ve got good air awareness.
Take your time. Mastery doesn’t come overnight. And always, always practice on features that match your skill level. Don’t jump the gun—literally.
Mental Game: Beat the Fear of Flying
Let’s be real—jumps are scary. That fear? Totally normal. But here’s how you can take the mental edge off:- Visualization: Picture yourself landing the perfect jump. Your brain starts to believe it’s possible.
- Breathe: Nervous? Deep breaths can calm your heart rate and help you focus.
- Small wins: Don’t rush it. Stack little successes. Hit a small jump, then a medium one.
- Ride with buddies: Your crew can hype you up and cheer you on. Confidence boost = unlocked.
The battle isn’t just physical—it’s mental. Tame your mind, and your body will follow.
Safety First: Protect Your Body
Snowboarding is fun, but it’s still a sport where your feet are strapped to a board. Mistakes can and will happen, so suit up smart.- Helmet: Always. No excuses.
- Impact shorts: Cushion those hips and tailbone.
- Wrist guards: Great for beginners or park rats.
- Back protector: Useful for bigger jumps or progression sessions.
And don’t forget to warm up before hitting features. Stretch, cruise a few mellow laps, get your blood flowing.
Final Thoughts: Progress Over Perfection
Mastering snowboard jumps isn’t about being perfect—it’s about getting a little better each time. Even the pros started with shaky landings and sketchy takeoffs. The secret? They didn’t stop. They kept showing up, learning, and pushing just a little farther.So the next time you’re at the park, eyeing that jump, remember: you’ve got this. Take a breath, trust your body, and send it.
And hey, if you fall… snow is softish, right?
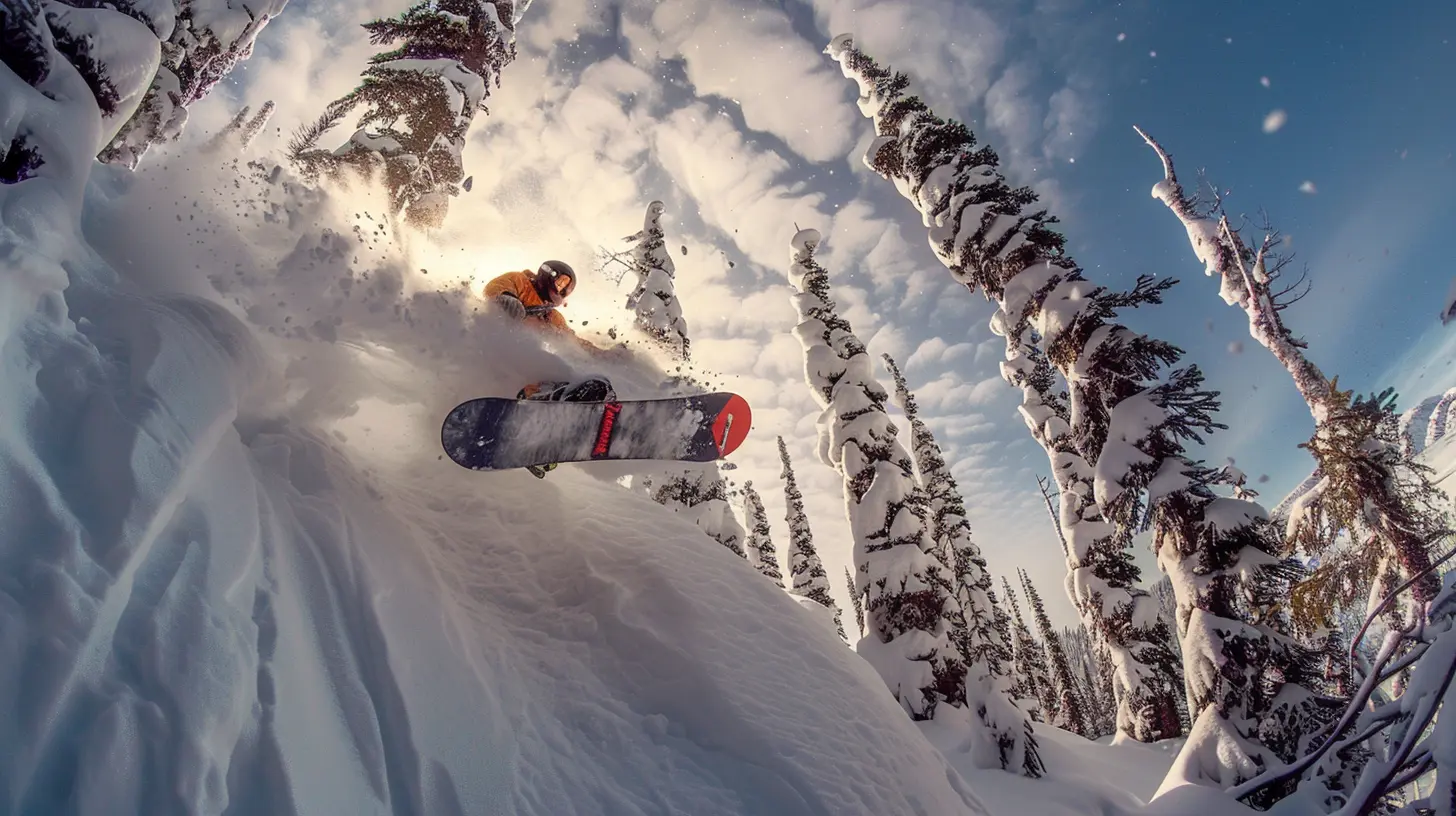
all images in this post were generated using AI tools
Category:
SnowboardingAuthor:

Fernando Franklin
Discussion
rate this article
1 comments
Zevran Luna
Great insights on mastering jumps! I’m curious about how different styles and techniques vary among riders. Do you think mental preparation plays a big role in boosting confidence for tackling those big air moments? Looking forward to more tips!
October 19, 2025 at 3:31 AM
Fernando Franklin
Thank you for your comment! Absolutely, mental preparation is crucial for building confidence in tackling big jumps. Different styles and techniques can enhance a rider's approach, but a positive mindset often makes all the difference. Stay tuned for more tips!