The Art of Carving: How to Perfect Your Snowboarding Turns
9 August 2025
So, you’ve got your snowboard strapped on, the mountain is calling, and you’re ready to shred. But if you're still skidding down the slopes like you're ironing out wrinkles with your board, then it's time to step up your game. Welcome to the art of carving. We're not talking turkey here—this is all about slicing smooth, controlled, and powerful turns on your snowboard that’ll make you feel like you’re drawing lines on the snow with a fine-point marker.
Carving isn't just some flashy technique pro riders use to show off (although it does look seriously cool). It's the foundation of great snowboarding, unlocking better control, faster speeds, and that silky-smooth flow that separates seasoned rippers from the weekend warriors. Whether you're a beginner getting past falling leaf turns or an intermediate rider ready to take it to the next level, this guide's got everything you need to know about nailing your carves.
Let’s dive in.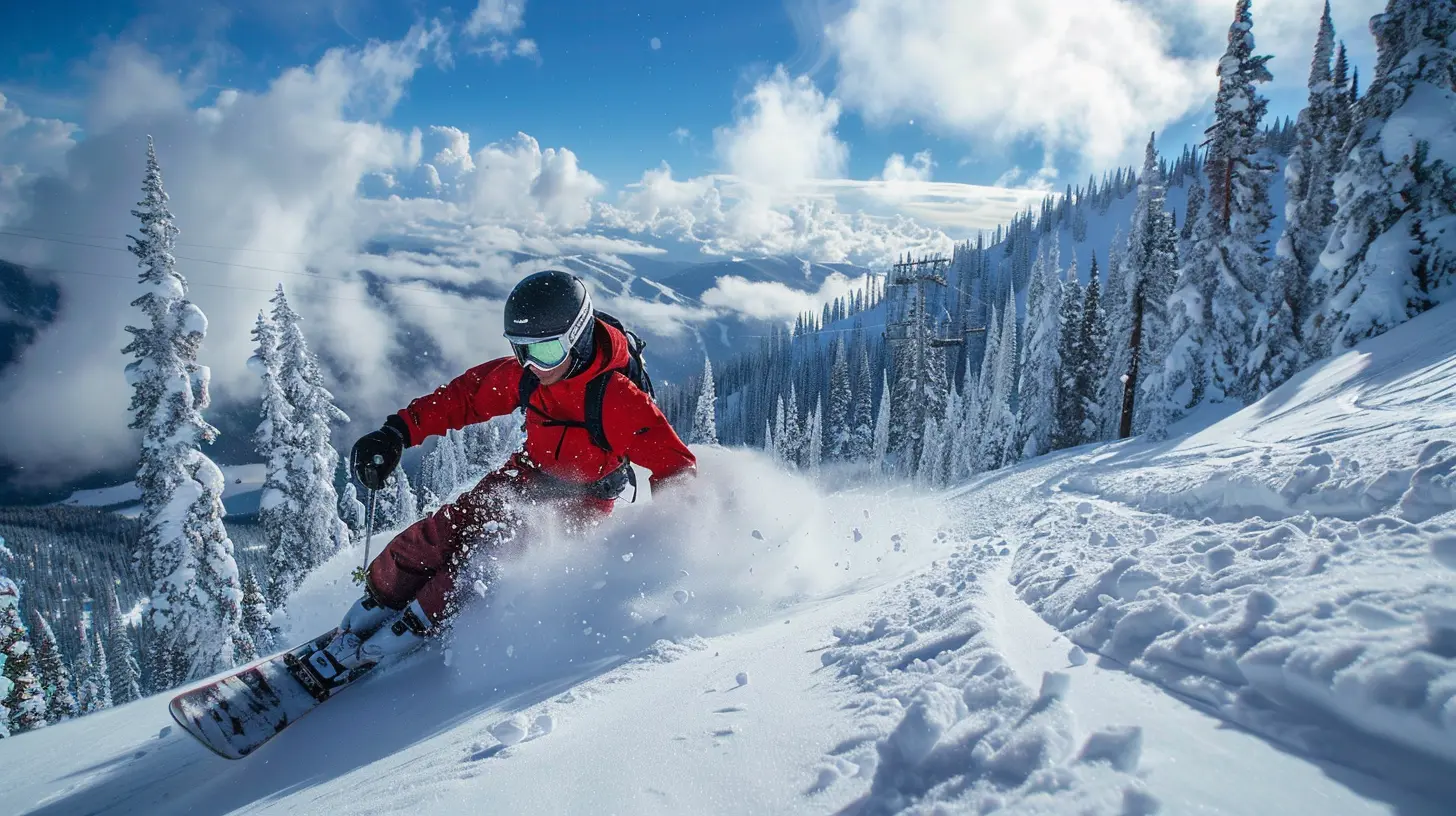
What Is Carving in Snowboarding, Really?
Before we talk technique, let’s break this down. At its core, carving in snowboarding means making turns where your edges grip the snow cleanly—no skidding, no sliding. You’re using the sidecut of your board (that hourglass shape) to arc through the snow, like you're on rails.Instead of pushing your board sideways to turn (which creates chatter, speed loss, and those tell-tale snow sprays), you're tilting it on edge and letting it glide through the arc. Done right, it’s like dancing with the mountain—graceful, controlled, and smooth as fresh powder.
In short: skidding is braking, carving is cruising.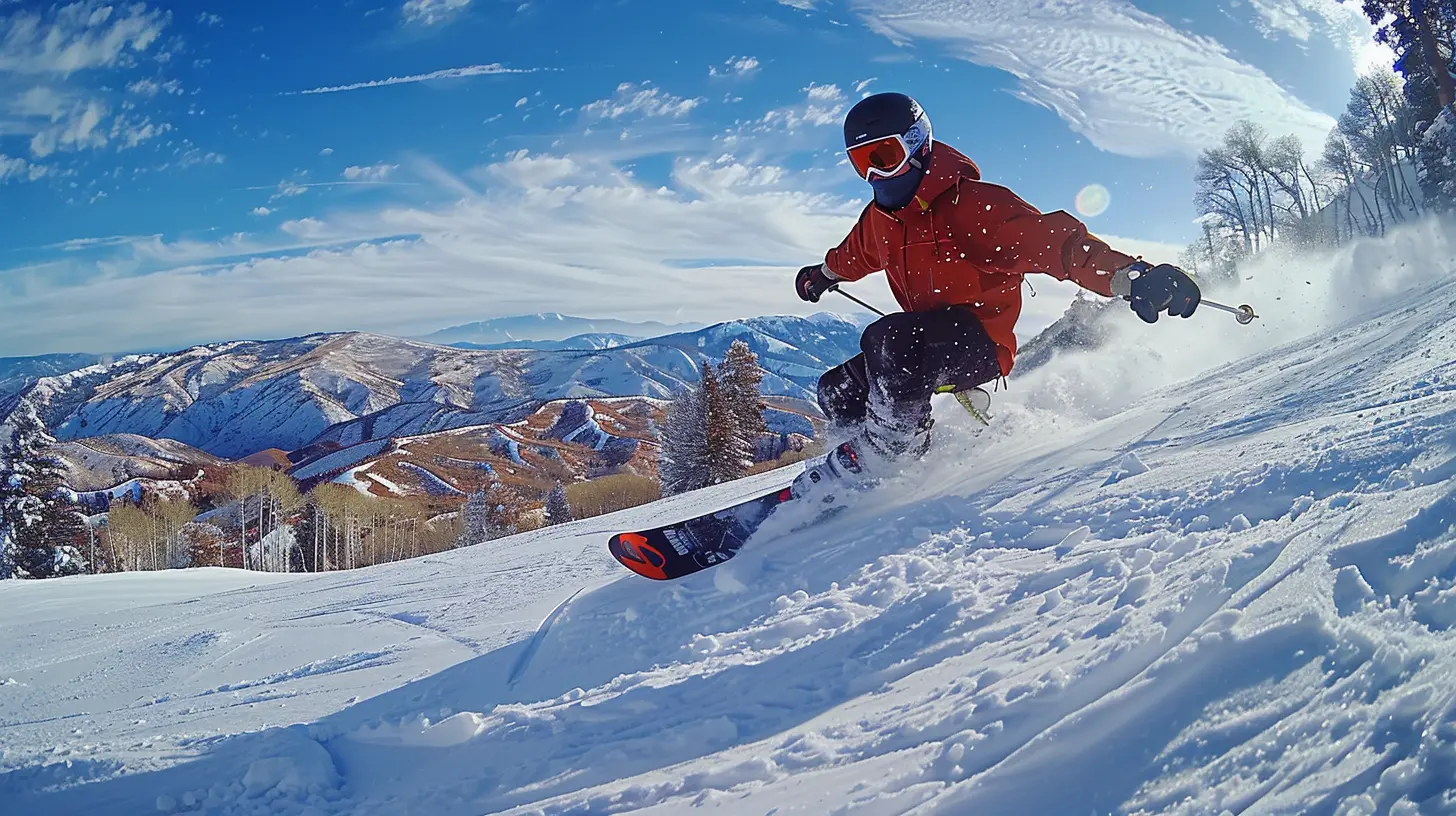
Why Carving Matters
Carving doesn’t just look better—it feels better. Think of it like switching from clunky rollerblades to smooth inline skates.Here’s what proper carving brings to your ride:
- Speed with control: You don’t lose momentum, but you still steer like a boss.- Edge confidence: Feel stable when bombing steeper slopes.
- Effortless flow: Your turns feel natural, not forced.
- Advanced progression: It’s a stepping stone to freestyle, backcountry, and even racing.
If you're looking to ride longer, faster, and with more control—it all starts here.
Gearing Up: The Right Equipment for Carving
Let’s get real: gear matters. You can’t expect to carve like a samurai with a butter knife. Start with the right tools.Board Shape and Flex
- Directional or directional twin boards are best for carving—they offer better stability and control through turns.- Camber profiles (or hybrid camber) give you strong edge grip and responsiveness. Rocker boards are fun for powder, but not ideal for deep carving.
- Medium-to-stiff flex gives better edge hold and energy return. Soft boards? Great for jibbing—not so much for laying trenches.
Boots & Bindings
- Stiff boots = more responsiveness.- Tight bindings that keep your heel locked in = tighter turns.
Dial in your stance too. A wider stance gives more stability when leaning into carves. Don’t be afraid to experiment.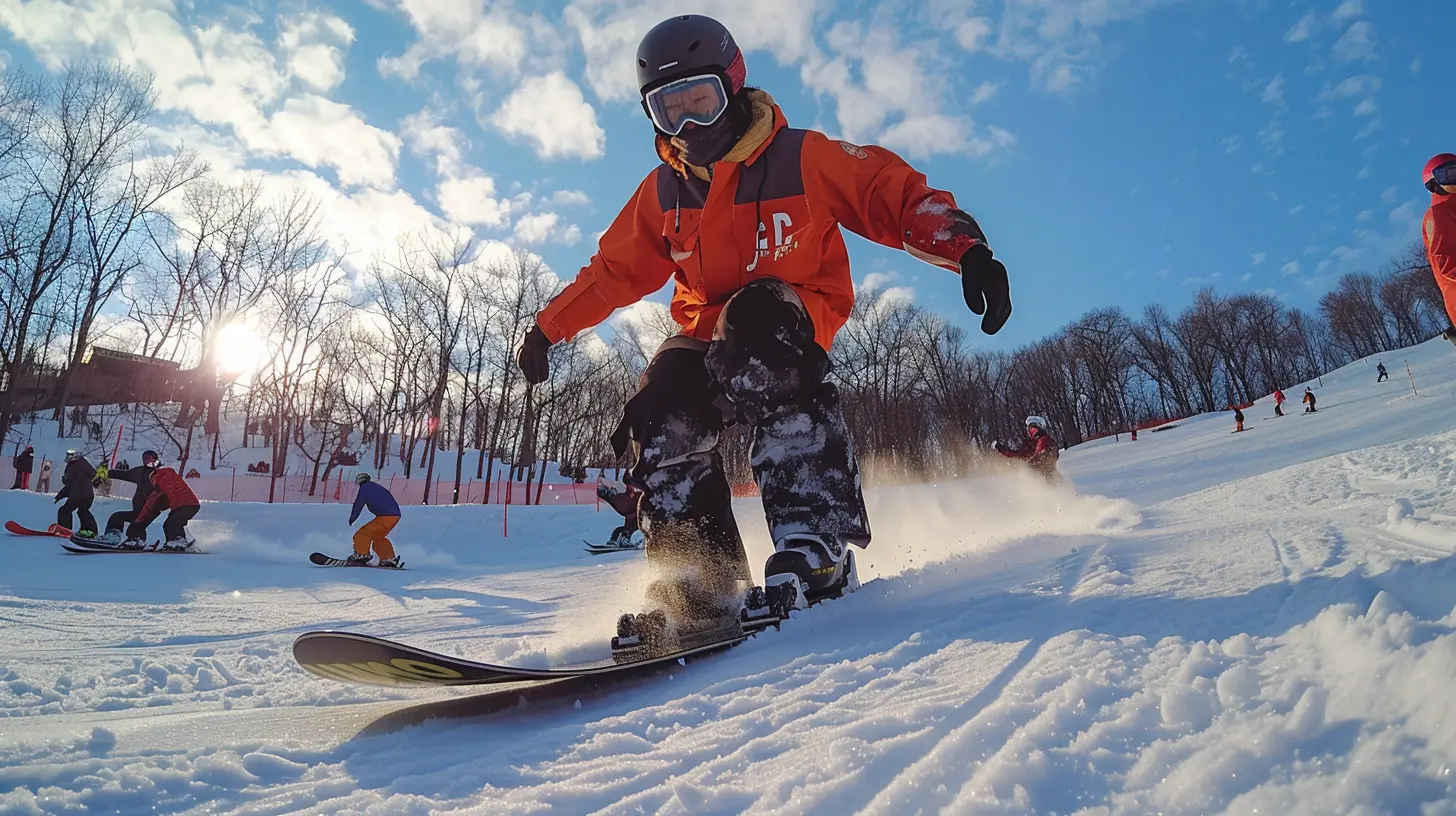
Body Position: Your Foundation for a Perfect Carve
Alright, now for the good stuff. Your gear’s sorted, you’re on a groomed run, and you’re ready to slice. Let’s talk how to carve.Start with Neutral Stance
Think “ready position”: knees bent, back straight, eyes up, weight centered between both feet. You should feel balanced—not leaning too far forward or back.Now, as you approach your turn:
1. Initiate with the Front Foot
Every turn starts at the front. Apply gentle pressure through your front foot and ankle to start tipping the board on edge.2. Engage the Edge
As you tilt the board, engage the side edge (toe or heel depending on direction). Let the board’s edge start cutting into the snow. Think less “push” and more “tilt and trust.”3. Flex and Lean
Now lean into the turn. This part's like riding a bike—you lean into the corner, not away from it. Keep your upper body over the board. Don’t lean uphill, and avoid twisting your shoulders too early.4. Finish the Turn Strong
Ride the arc all the way through. As the board completes the turn, gently shift weight slightly towards the back foot to finish strong and set up for the next carve.Toeside vs. Heelside Carves: What’s the Difference?
Ah yes, the classic struggle. One side always feels easier than the other, right?- Toeside Carves: These feel natural for many riders because you can see where you’re going. Lean into your toes, drop your knees, and keep your chest open toward the downhill.
- Heelside Carves: Trickier, but oh-so-satisfying. Sit into your heels like you’re squatting on a bar stool. The key is to avoid leaning back too much—keep your weight centered over the board.
Pro tip: Practice linking one heel carve to one toe carve slowly and in control. That rhythm is where the magic happens.
Common Carving Mistakes (And How to Fix Them)
❌ Skidding Instead of Carving
If you see a big spray of snow behind you, you're skidding. Focus on tilting the board more and trusting the edge.❌ Leaning Back on Turns
This makes the board wash out or feel unstable. Keep your shoulders and hips aligned over the center of the board.❌ Rushing the Turn
Trying to whip turns too fast kills your edge grip. Smooth input, smooth turn.❌ Over-Rotating Upper Body
Twisting your torso doesn’t help—you’ll just throw yourself off balance. Keep your upper and lower body working together like they're in sync.Carving Drills to Up Your Game
You don’t need a high-speed run or perfect snow to practice carving. Here are some drills to try next time you’re out:🍕 Pizza Slice Turns
Start each turn wide, narrow it in, then widen out again—like slicing pizza. This teaches you edge control and timing.🧀 Hold the Cheese
Focus on holding your edge through the entire turn. Try carving only toeside or only heelside for a few runs to build muscle memory.🌀 S Turns
Connect your carves into smooth “S” shapes down the mountain. Aim for rhythm and flow, not sharp direction changes.🧍♂️ Silent Standing Drill
Ride with your arms relaxed at your sides (not swinging around like an airplane). This teaches you to turn with your legs and core, not your upper body.Advancing Your Carves: Dynamic and Euro Carving
Once you’re solid on basic carving, you can start dialing it up.Dynamic Carving
This is carving with energy. You increase pressure and edge angle mid-turn, creating snappy, powerful turns. Think of it like loading a spring—compress and release.Euro Carving
Ready for some real flair? This is the deep, body-to-the-snow carving you’ve probably seen in videos. You need tons of edge control, high board angles, and timing. But man, it feels so good when you nail one.Mindset Matters: Don’t Be Afraid to Fail
Look—we all fall. We all catch an edge. And we all look like a mess when learning something new. Carving isn’t about perfection. It’s about rhythm, feel, and flow.Take your time, try new things, and ride with people who push you. Watch videos, film yourself, and most importantly, keep having fun. The turns will come.
Snow Conditions and Carving
Here’s a quick heads-up: carving works best on groomed runs and packed snow. Icy? You'll need sharper edges and more precision. Slushy? You may feel a bit “mushy” underfoot. Powder? Switch gears—carving doesn’t really apply the same way in deep snow.Adjust your edge pressure and timing based on what’s under your feet.
Final Thoughts: Let the Snow Tell Your Story
Carving is as much an art as it is a science. It’s about connection—between you, your board, and the mountain. Each turn is a signature. And the best part? Snow always gives you a canvas to try again.So next time you're out there, slow it down. Feel the edges bite. Let the mountain teach you. Carving isn't about being perfect—it’s about being present.
And trust me—there’s no better feeling than riding away from a perfectly laid trench, looking back, and seeing your own line slicing through the snow like a scalpel.
Happy riding. Stay stoked.
all images in this post were generated using AI tools
Category:
SnowboardingAuthor:

Fernando Franklin
Discussion
rate this article
1 comments
Liora Kearns
Great insights! Looking forward to trying these tips!
August 24, 2025 at 3:58 AM
Fernando Franklin
Thanks! Enjoy your carving and have fun out on the slopes!